이번 시간에는 안드로이드 앱 개발중에 Navigation Drawer와 Tabs를 같이 사용하려고 할때
만드는 방법에 대해 설명합니다.
기본 프로젝트를 생성하면 Navigation Drawer 하고 Tabs는 따로 선택할 수 있게 되어 있습니다.
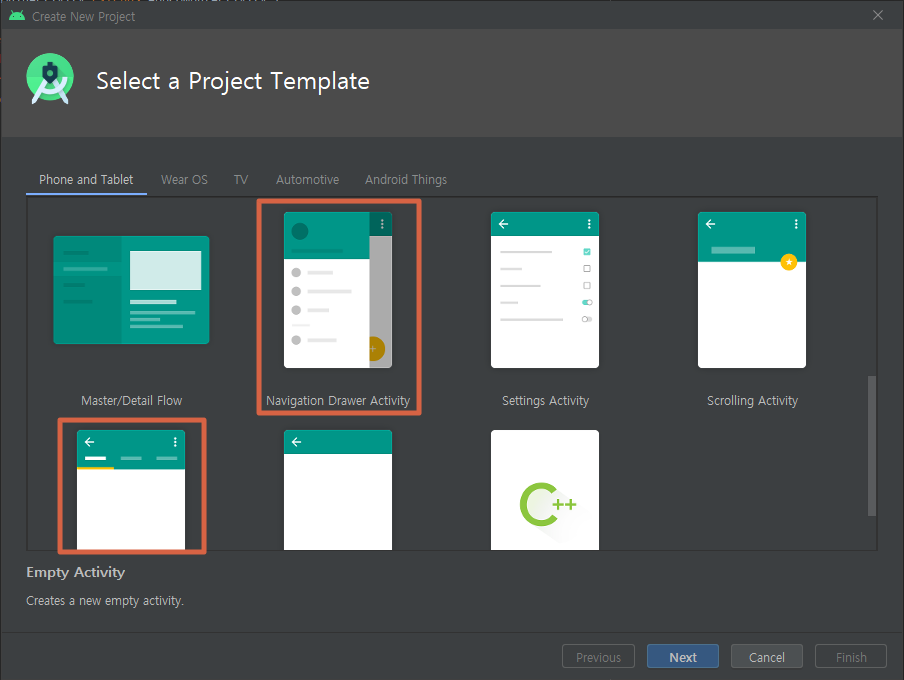
요즘 출시되는 앱들을 보면 Navigation Drawer 하고 Tabs를 혼합한 앱들이 많이 보입니다.
이럴때 같이 붙여서 사용해야 할 때 사용하시면 됩니다.
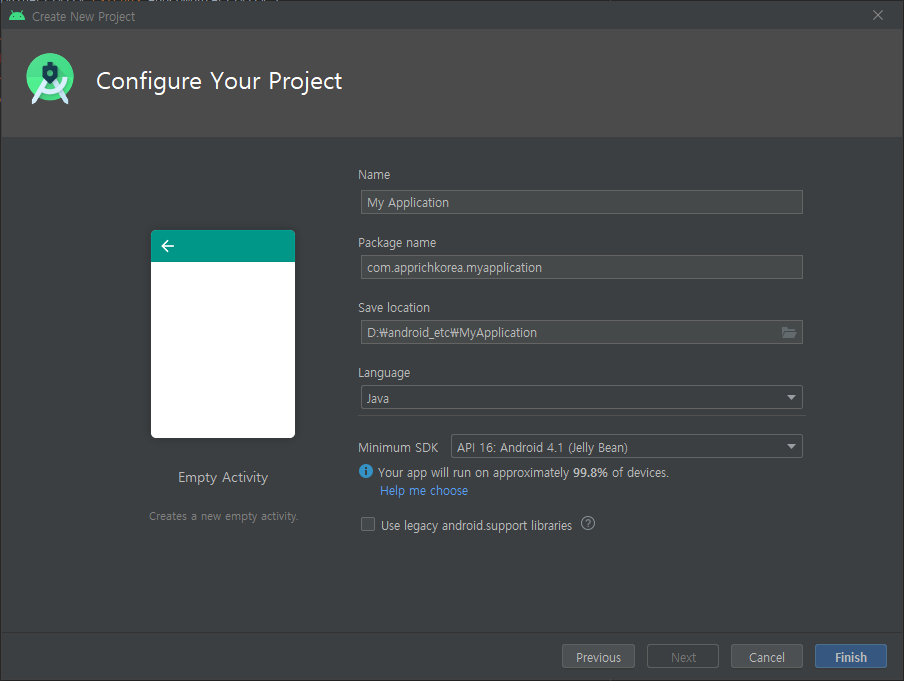
먼저 Empty Activity로 프로젝트를 생성합니다.

프로젝트를 생성한 다음 res->layout 오른쪽 클릭해서 New Resource File 선택한후에 File name 에 nav_header라고
네이게이션 헤더 리소스를 추가합니다.
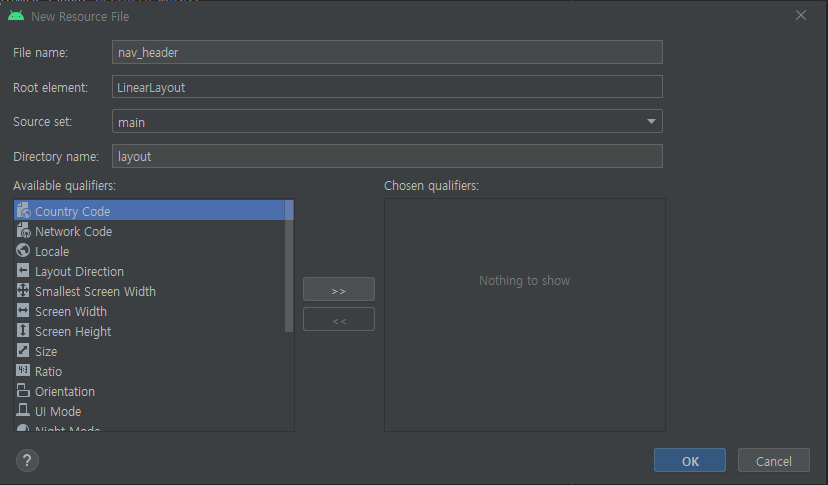
Root element는 LinearLayout 으로 변경합니다.
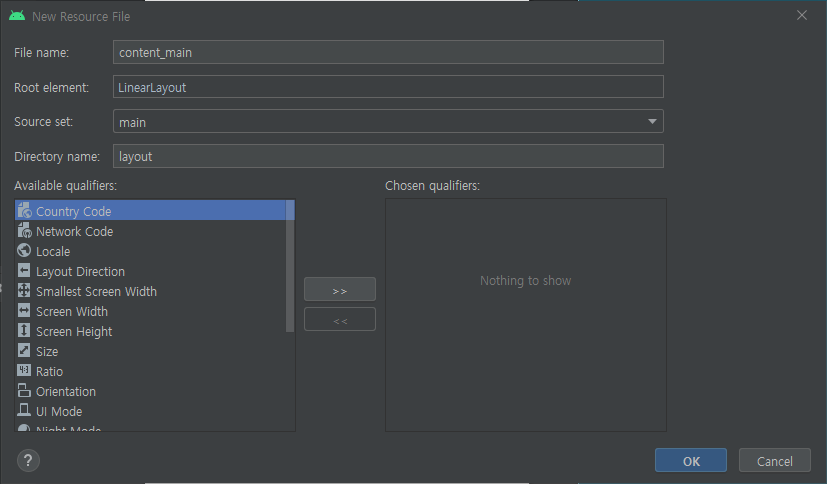
마찬가지로 한번더 리소스 추가를 해서 content_main을 추가해 줍니다.
content_main.xml 코드를 수정해 줍니다.
toolbar 부분을 지정해 줄껍니다.
<?xml version="1.0" encoding="utf-8"?>
<androidx.constraintlayout.widget.ConstraintLayout xmlns:android="http://schemas.android.com/apk/res/android"
    android:orientation="vertical" android:layout_width="match_parent"
    android:layout_height="match_parent">
    <androidx.appcompat.widget.Toolbar
        android:layout_width="match_parent"
        android:layout_height="?attr/actionBarSize"
        android:background="@color/colorPrimaryDark"
        android:id="@+id/toolbar"/>

</androidx.constraintlayout.widget.ConstraintLayout>
Design 부분으로 넘어가서 Constraint Widget을 수정해줍니다.

이제 tabs를 붙여줄 차례입니다.
왼쪽 containers -> TabLayout 클릭해서 아래 component Tree에 붙입니다.

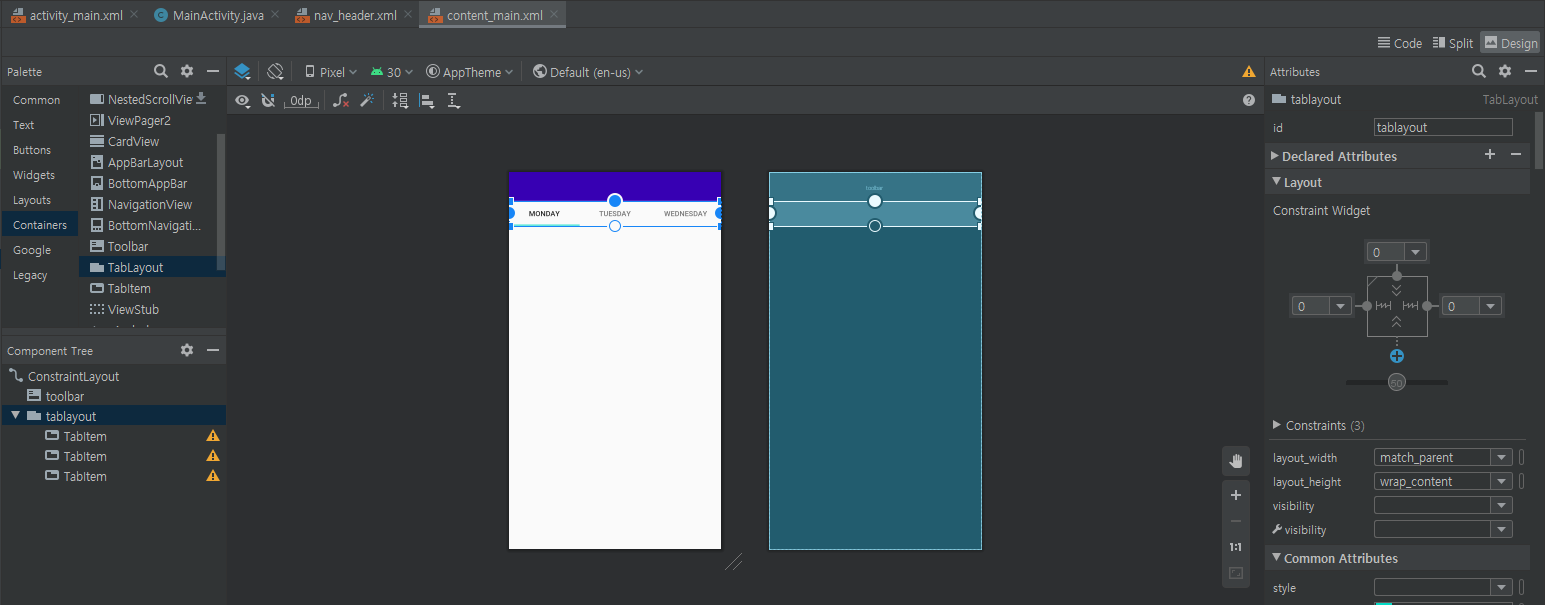
TabLayout을 붙이면 상단에 붙어 있습니다. 이걸 아래로 드래그해서 toolbar 아래에 맞게 붙입니다.
그리고 TabLayout도 Constraint Widget을 수정해줍니다. ID도 tablayout으로 정해줍니다.
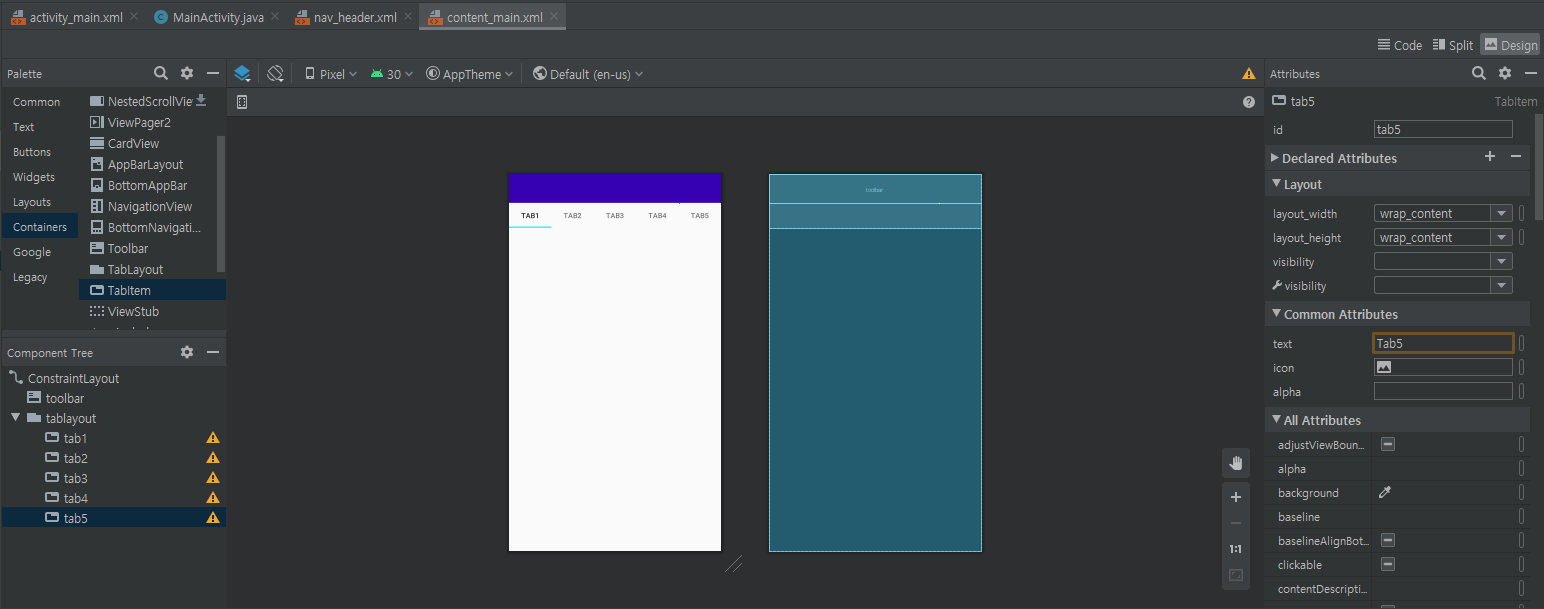
나머지 tabitem들도 id와 text를 변경해줍니다.
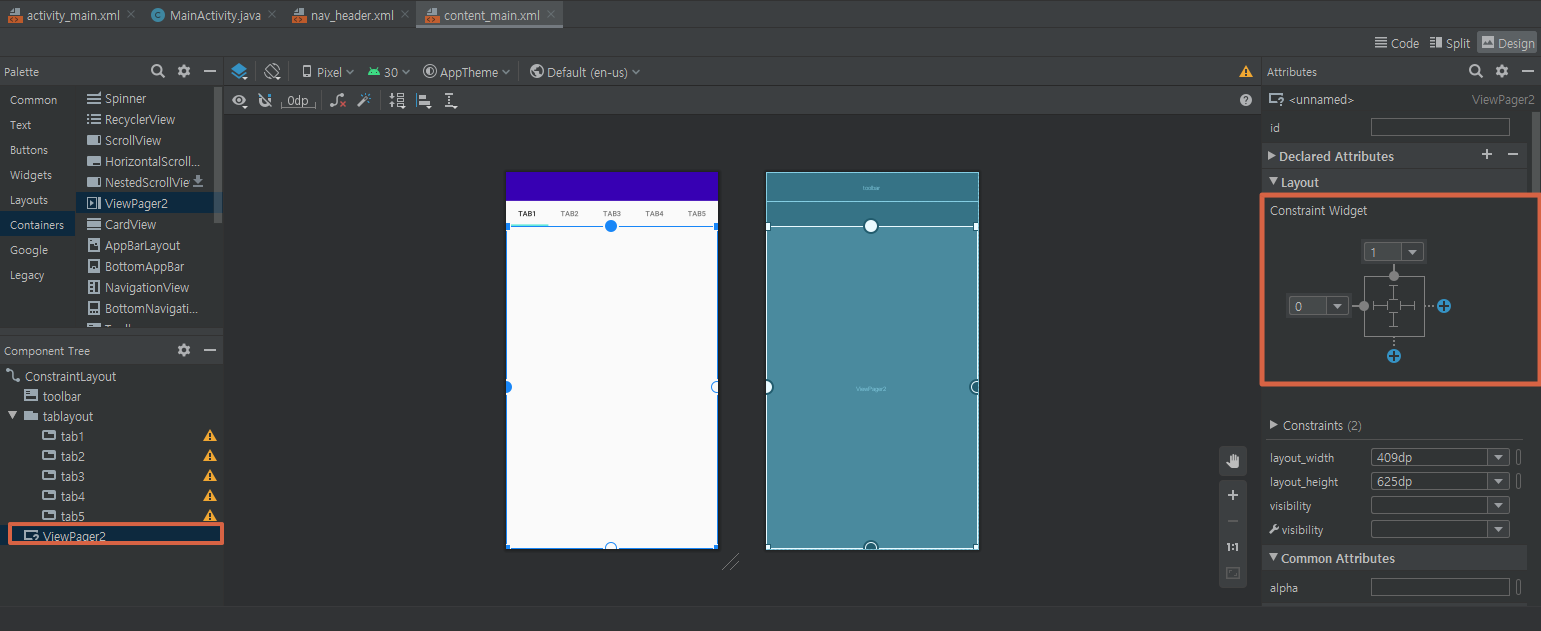
이제 tablayout에서 선택시 보여질 뷰페이지를 추가합니다.
뷰페이지를 추가하고 Constraint Widget을 수정해줍니다.
activity_main.xml에서 content_main.xml을 인클루드해서 사용합니다.
코드는 아래와 같습니다.
<?xml version="1.0" encoding="utf-8"?>
<androidx.drawerlayout.widget.DrawerLayout xmlns:android="http://schemas.android.com/apk/res/android"
    xmlns:app="http://schemas.android.com/apk/res-auto"
    xmlns:tools="http://schemas.android.com/tools"
    android:layout_width="match_parent"
    android:layout_height="match_parent"
    tools:context=".MainActivity">

    <include
        android:layout_height="match_parent"
        android:layout_width="match_parent"
        layout="@layout/content_main"/>


</androidx.drawerlayout.widget.DrawerLayout>
여기까지 탭뷰부분을 붙여보았습니다. 이제는 Navigation Drawer 부분을 추가해 보겠습니다.
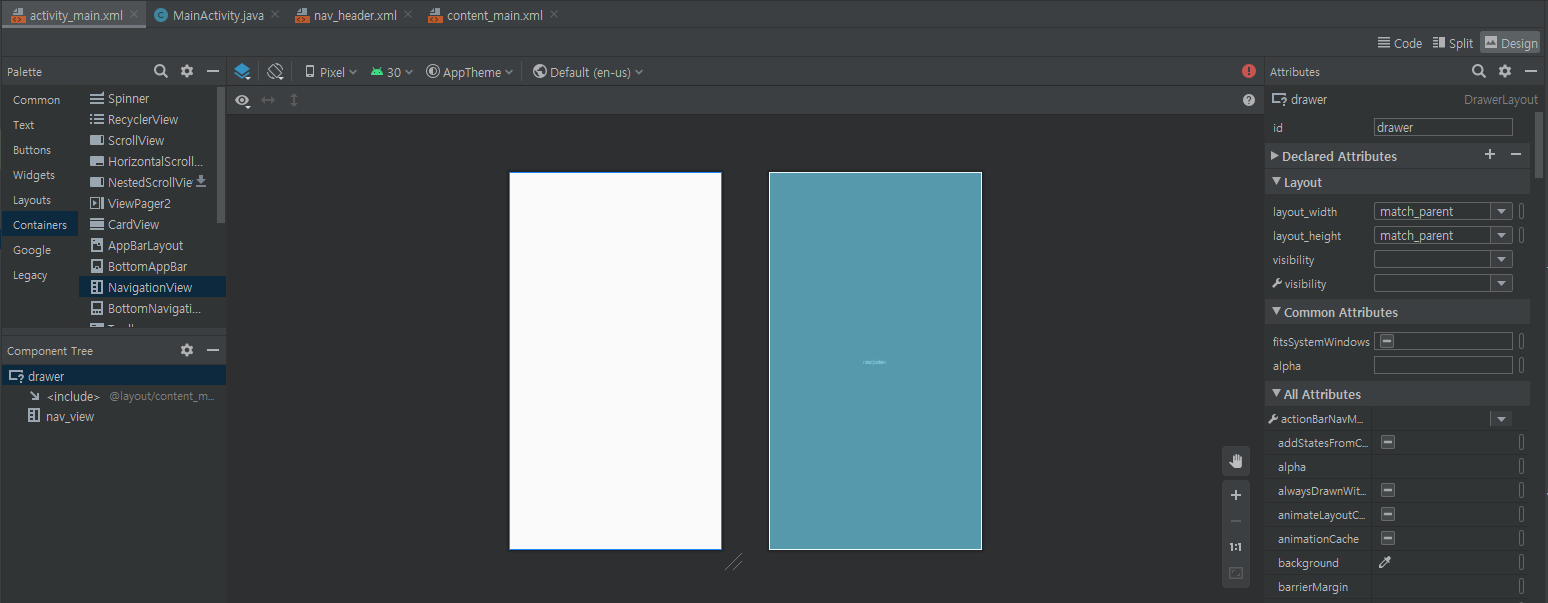
activity_main.xml 디자인에서 Containers -> NavigationView를 추가합니다.
<?xml version="1.0" encoding="utf-8"?>
<androidx.drawerlayout.widget.DrawerLayout xmlns:android="http://schemas.android.com/apk/res/android"
    xmlns:app="http://schemas.android.com/apk/res-auto"
    xmlns:tools="http://schemas.android.com/tools"
    android:layout_width="match_parent"
    android:layout_height="match_parent"
    tools:context=".MainActivity"
    android:id="@+id/drawer">

    <include
        android:layout_height="match_parent"
        android:layout_width="match_parent"
        layout="@layout/content_main"/>

    <com.google.android.material.navigation.NavigationView
        android:layout_width="match_parent"
        android:layout_height="match_parent"
        android:id="@+id/nav_view"/>


</androidx.drawerlayout.widget.DrawerLayout>
activity_main.xml도 수정해 줍니다.
네비게이션 헤더 부분을 작업할 차례입니다.
nav_header.xml 디자인에서 백그라운드 색상 변경과 TextView 하나를 추가합니다.
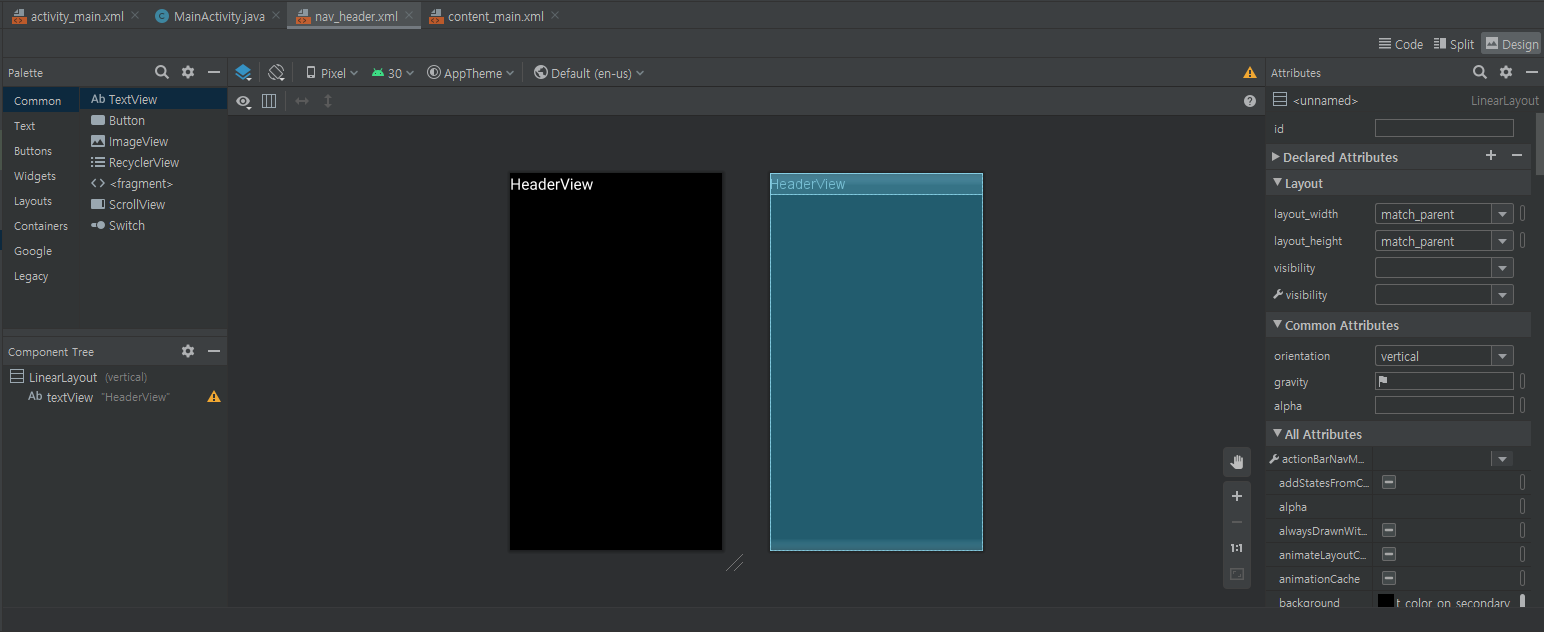
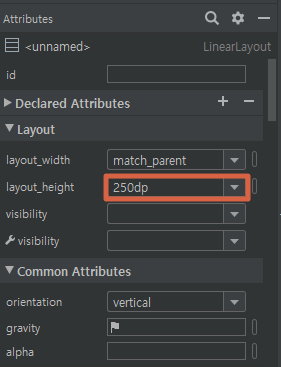
헤더부분만 높이를 정합니다.
저는 250dp로 잡았습니다.
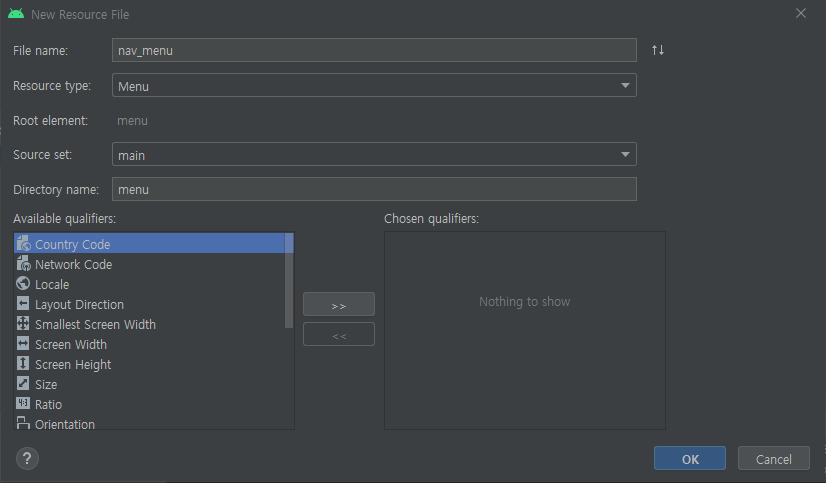
메뉴부분을 추가하겠습니다.
res->New Resource File 선택한후에 그림과 같이 셋팅합니다.
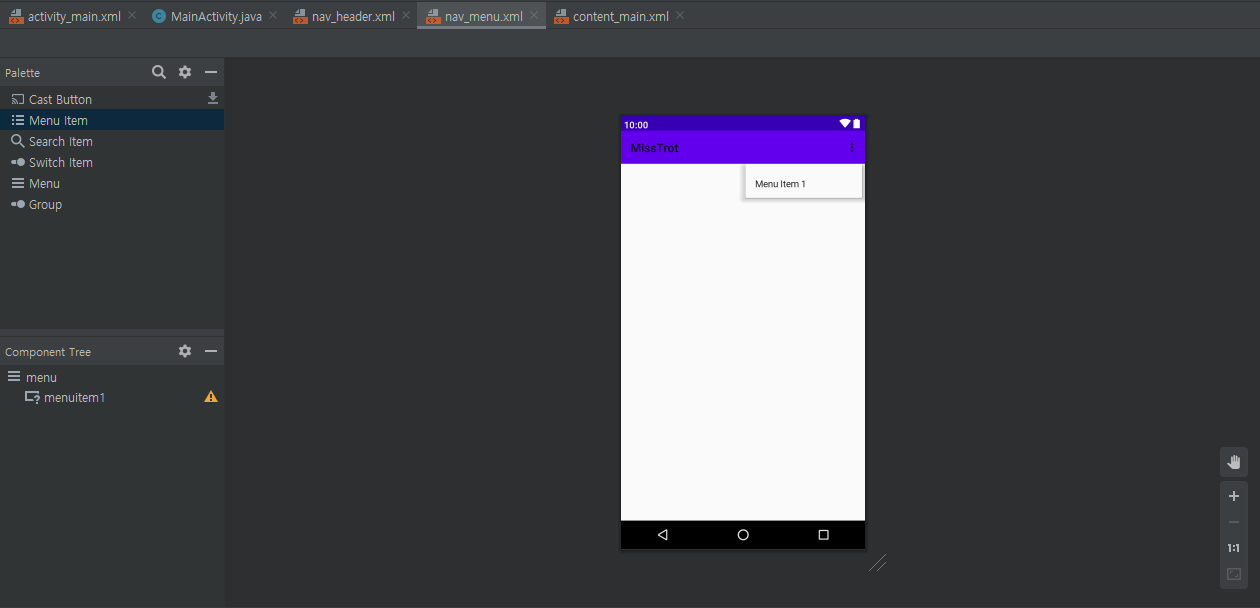
메뉴아이템 Menu Itme 1을 추가합니다.
activity_main.xml에 메뉴추가한 부분을 추가해줍니다.
<?xml version="1.0" encoding="utf-8"?>
<androidx.drawerlayout.widget.DrawerLayout xmlns:android="http://schemas.android.com/apk/res/android"
    xmlns:app="http://schemas.android.com/apk/res-auto"
    xmlns:tools="http://schemas.android.com/tools"
    android:layout_width="match_parent"
    android:layout_height="match_parent"
    tools:context=".MainActivity"
    android:id="@+id/drawer">

    <include
        android:layout_height="match_parent"
        android:layout_width="match_parent"
        layout="@layout/content_main"/>

    <com.google.android.material.navigation.NavigationView
        android:layout_width="match_parent"
        android:layout_height="match_parent"
        android:id="@+id/nav_view"
        app:menu="@menu/nav_menu"
        app:headerLayout="@layout/nav_header"
        android:fitsSystemWindows="true"
        android:layout_gravity="start"/>


</androidx.drawerlayout.widget.DrawerLayout>
이제 거의 다 왔습니다. MainActivity.java에서 툴바와 네이게이션바를 붙이고 액션 토글이벤트를 추가하면 됩니다.
import androidx.appcompat.app.ActionBarDrawerToggle;
import androidx.appcompat.app.AppCompatActivity;
import androidx.drawerlayout.widget.DrawerLayout;
import androidx.appcompat.widget.Toolbar;

import android.os.Bundle;


import com.google.android.material.navigation.NavigationView;

public class MainActivity extends AppCompatActivity {
    DrawerLayout drawerLayout;
    ActionBarDrawerToggle toggle;
    NavigationView navigationView;

    @Override
    protected void onCreate(Bundle savedInstanceState) {
        super.onCreate(savedInstanceState);
        setContentView(R.layout.activity_main);
        Toolbar toolbar = findViewById(R.id.toolbar);
        setSupportActionBar(toolbar);

        drawerLayout = findViewById(R.id.drawer);
        navigationView = findViewById(R.id.nav_view);

        toggle = new ActionBarDrawerToggle(this,drawerLayout,toolbar,R.string.open,R.string.close);
        drawerLayout.addDrawerListener(toggle);
        toggle.setDrawerIndicatorEnabled(true);
        toggle.syncState();
    }
}
컴파일 하고 실행을 해보시면 탭바와 네비게이션이 제대로 작동하시는걸 보실수 있습니다.
'안드로이드개발' 카테고리의 다른 글
| 안드로이드 Unity Ads 적용하기 (0) | 2020.09.14 |
|---|---|
| 안드로이드 Navigation Drawer with Tabs (2/2) (0) | 2020.08.28 |
| Youtube API 없이 Youtube Player 사용하기 (0) | 2020.08.19 |